
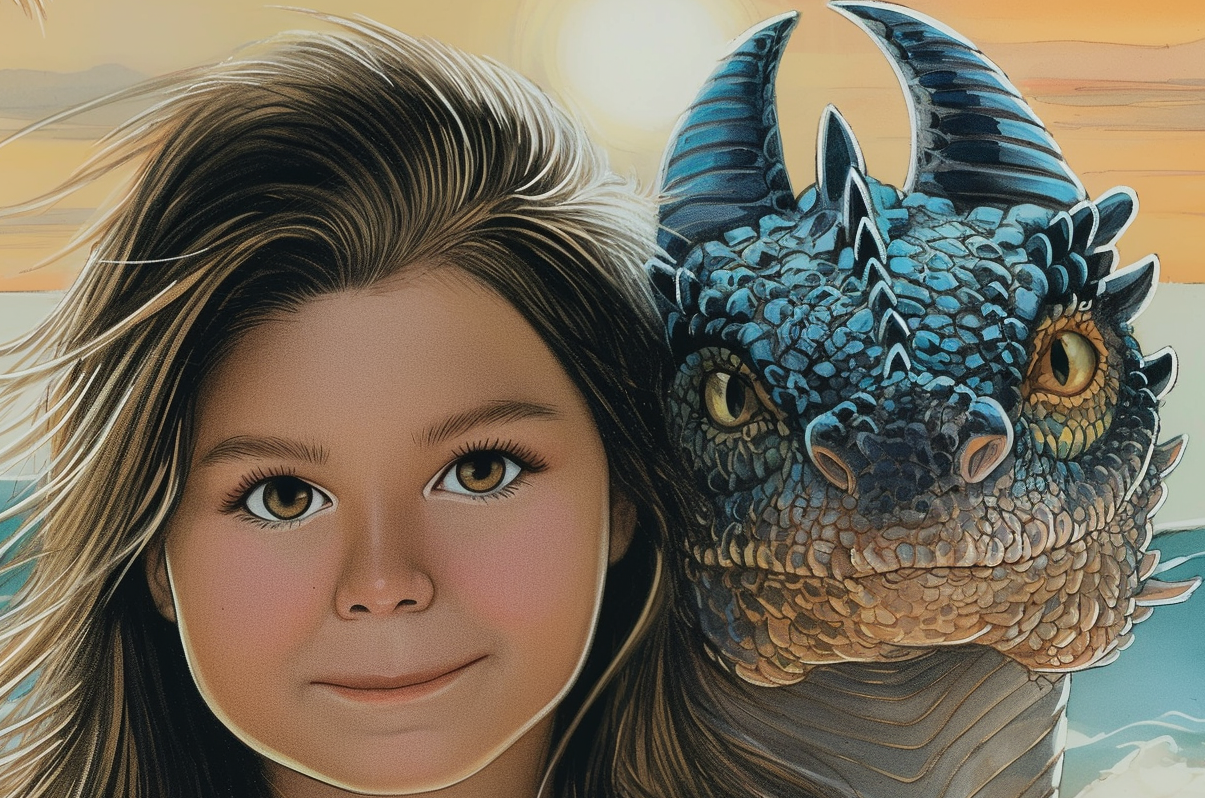
Have you ever stopped to wonder how those beloved characters and enchanting scenes come to life in the children’s books you cherish? Behind the scenes of Sir Reggie’s Books, the process of creating these magical illustrations is a fascinating journey that combines creativity, collaboration, and technical skill. This article takes you through the intricate steps from the initial spark of an idea to the final, polished pages that captivate young readers. We’ll explore how artists gather inspiration, work closely with authors, and bring their visions to life through sketching, digital tools, and a deep understanding of color and character design. Join us as we uncover the secrets that make each illustration a piece of art in its own right, ready to transport children into worlds of imagination.
The Initial Concept and Planning
Before any brushes hit canvas or pixels are clicked, the initial concept and planning phase is crucial for creating compelling children’s book illustrations. This stage sets the foundation for the entire project and ensures that the final artwork resonates with the intended audience. Let’s delve into the key aspects of this essential phase.
Understanding the Story and Characters
The first step in the initial concept and planning process is to thoroughly understand the story and the characters. This involves several practical steps:
–
Reading the Text: The illustrator should read the full text of the children’s book multiple times to grasp the narrative, themes, and pacing. This helps in visualizing the story flow and the emotional journey of the characters.
–
Character Analysis: Each character should be analyzed in depth. This includes understanding their personality, appearance, and role in the story. Sketching initial character designs can help in visualizing these elements and making any necessary adjustments.
–
Setting the Scene: The environment where the story takes place is equally important. Visualizing the setting can help in creating a cohesive and immersive illustration. This involves considering the time period, location, and any specific details that contribute to the story’s atmosphere.
Developing the Visual Style and Tone
Once the story and characters are understood, the next step is to develop the visual style and tone of the illustrations. This process involves several key elements:
–
Style and Aesthetics: The illustrator must decide on a style that best suits the story. This could range from realistic to whimsical, and the choice should reflect the intended audience and the story’s theme. A consistent visual style will help in maintaining a cohesive look throughout the illustrations.
–
Tone and Atmosphere: The tone of the illustrations should match the emotional undertones of the story. For example, a story with a light-hearted theme might benefit from vibrant colors and playful compositions, while a more serious story might require a more muted color palette and simpler designs. Establishing this tone early ensures that all illustrations align with the overall feel of the book.
–
Storyboard and Sketches: Creating a storyboard or initial sketches can be invaluable. These serve as a blueprint for the final illustrations and help in refining the composition, layout, and pacing of the illustrations. They also facilitate communication between the illustrator and the author or editor, ensuring that everyone is on the same page.
By carefully planning and conceptualizing the illustrations, the illustrator can ensure that the final artwork not only complements the story but also enhances the reading experience for children.
Sketching and Storyboarding
Before any children’s book illustration takes to the canvas or digital screen, the illustrator must lay the groundwork through sketching and storyboarding. These initial steps are crucial for bringing the story to life and ensuring that the final illustrations align with the author’s vision and the intended audience’s needs.
Sketching: The Foundation of Illustration
Sketching is the first step in the creative process, where the illustrator begins to visualize the story. This stage is all about exploration and experimentation. Artists often start by sketching rough ideas on paper or digitally. These initial sketches are free from constraints and allow the illustrator to brainstorm and try out different angles, characters, and scenes. The focus here is on capturing the essence of the story and developing a sense of mood and atmosphere that will resonate with young readers.
Sketches can be loose and sketchy, with little attention to detail. The goal is to quickly jot down ideas and concepts that can be refined later. These initial drawings help the illustrator to make decisions about the layout of the pages, the composition of each illustration, and the overall aesthetic of the book. Sketching also serves as a way to communicate with the author and the editorial team, providing them with a visual representation of the illustrator’s ideas before they are fully developed.
Storyboarding: Structuring the Narrative
Once the initial sketches are in place, the next step is to create a storyboard. A storyboard is a sequence of sketches that outline the key scenes and events in the story. This visual narrative helps to organize the story and ensures that the sequence of events flows logically and engages the reader. Storyboards are particularly useful in children’s books, where the narrative might be complex or nonlinear.
Each panel in a storyboard typically represents a single page or a key moment in the story. The artist must consider how each illustration will contribute to the overall story, paying attention to pacing, emotion, and the progression of the narrative. Storyboards can be created using traditional methods, such as drawing on paper or whiteboards, or digitally using software like Adobe Photoshop or Procreate. The key is to maintain consistency in style and tone across the entire storyboard, ensuring that the illustrations support the story’s themes and messages.
By combining sketching and storyboarding, the illustrator can create a cohesive and engaging visual narrative that captivates young readers and brings the author’s vision to life. These initial steps lay the foundation for the detailed and polished illustrations that will eventually grace the pages of Sir Reggie’s Books.
Digital vs. Traditional Tools
Creating children’s book illustrations involves a blend of creativity and technical skills. Two primary methods dominate the field: digital tools and traditional techniques. Each has its unique advantages and is suited to different aspects of the illustration process.
Digital Tools: Precision and Versatility
Digital tools have revolutionized the way artists create and refine their illustrations. Software like Adobe Illustrator, Procreate, and Photoshop offer a wide range of features that can be tailored to the illustrator’s needs. These tools provide high precision and flexibility, allowing for easy adjustments and corrections. Digital illustrations can be easily scaled without losing quality, making them ideal for various formats, from print to digital platforms. Moreover, the use of layers in digital tools makes it easier to experiment with different elements and compositions. This aspect is particularly beneficial when working with complex scenes or multiple characters.
Traditional Techniques: The Handmade Touch
Traditional techniques, such as pencil and paper, watercolors, and ink, offer a unique handmade quality that cannot be replicated digitally. These methods often result in a more organic and expressive style, which can be highly appealing in children’s books. Using traditional tools allows artists to work intuitively, capturing the spontaneity and fluidity of the creative process. This approach can be especially effective for creating illustrations that need a softer, more personal touch. Additionally, traditional methods often require fewer resources and can be more cost-effective, making them a viable option for smaller projects or independent artists.
In conclusion, both digital and traditional tools have their place in the world of children’s book illustration. The choice between them depends on the specific requirements of the project, the artist’s personal preferences, and the desired outcome. Many illustrators today find success by combining the best of both worlds, leveraging the strengths of digital tools for efficiency and traditional methods for that special handmade touch.
Color and Character Design
Color and character design are fundamental elements in creating children’s book illustrations that resonate with young readers. Understanding the role of these elements in the narrative and emotional journey of the story is crucial for any illustrator.
Color Selection and Its Impact
Choosing the right colors can significantly influence the mood, atmosphere, and emotional tone of a children’s book. For instance, bright and vibrant colors like yellows, greens, and pinks can evoke feelings of joy, playfulness, and wonder, making the illustrations appealing to young children. These colors are often used in stories that involve fantastical or magical settings, such as fairy tales or adventures in nature.
Conversely, softer, muted colors can create a more soothing and calming environment, suitable for stories that explore themes of introspection or contemplation. These colors can help readers feel more relaxed and focused, making the reading experience more enjoyable and engaging.
Character Design and Its Importance
Character design plays a pivotal role in making the story come alive. Well-designed characters can capture the essence of the story and evoke empathy from the young readers. When designing characters, illustrators must consider several factors, including the character’s personality, role in the story, and the emotional arc they will go through.
For example, a character that starts as shy and fearful might benefit from a design that incorporates elements of vulnerability, such as large eyes and a small, delicate body. As the story progresses and the character grows, their design could evolve to reflect newfound confidence, perhaps through a more robust body and a wider smile. This transformation not only supports the narrative but also helps children relate to the character’s journey.
Moreover, the design of characters can also influence the reader’s perception of the story’s themes. For instance, a character that is always depicted with a kind and helpful demeanor can reinforce the message of compassion and empathy. Similarly, characters that encounter challenges and overcome them can serve as role models, teaching children about resilience and perseverance.
In conclusion, color and character design are not just aesthetic choices; they are powerful tools that can enhance the storytelling experience, making the narrative more engaging and meaningful for young readers. By carefully considering the role of these elements, illustrators can create illustrations that not only delight but also enrich the reading experience.
Finalizing and Publishing
Once the initial illustrations have been completed, the next step is finalizing and publishing the artwork. This phase is crucial as it ensures that the illustrations meet the high standards expected by both Sir Reggie’s Books and the target audience of young children. Here’s a detailed look at the process:
Refining the Artwork
The illustrator will review the initial drafts to ensure consistency in style, color, and character design. This stage involves making necessary adjustments to ensure that the illustrations are visually appealing and age-appropriate. For instance, if a character’s expression needs to be more expressive to convey the story’s emotions better, the illustrator will make those changes. Additionally, the color palette might be adjusted to ensure that it aligns with the book’s theme and enhances the storytelling. This refinement process is iterative, with the illustrator and the editor working closely to perfect each illustration.
Preparing for Publication
Once the illustrations are finalized, the next step is preparing them for the publication process. This involves several key tasks:
– **Scanning and Digitizing:** High-quality scans of the illustrations are created to ensure they can be used in various formats, such as print and digital. The resolution and color accuracy are checked to meet the publication standards.
– **Layout and Composition:** The illustrations are placed into the book layout, ensuring that they complement the text and flow seamlessly. This includes checking the placement of text boxes, margins, and any other design elements.
– **Proofreading and Quality Control:** Final checks are conducted to ensure there are no errors or inconsistencies. This step is crucial for maintaining the high quality expected by Sir Reggie’s Books. Any issues found during this stage are addressed before the final approval.
By carefully refining and preparing the illustrations, the team at Sir Reggie’s Books ensures that the final product is not only visually stunning but also engaging and educational for young readers. This meticulous process helps in creating a book that resonates with its intended audience and leaves a lasting impression.
In conclusion, the process of creating children’s book illustrations is a multifaceted journey that combines creativity, collaboration, and technical skill. From the initial concept and planning stages, where inspiration and research play key roles, to the final touches of color and character design, each step is crucial in bringing a story to life. By understanding the importance of digital versus traditional tools and the nuances of color theory, illustrators can ensure that their work resonates with young readers and their parents. As technology continues to evolve, the dynamic between traditional and digital techniques will likely become even more integrated, paving the way for innovative and engaging visual stories. Sir Reggie’s Books looks forward to featuring more of these captivating illustrations in the future, enriching the literary experience for both children and their caregivers.